vRA 8 - Integrating VMware Cloud Foundation
vRA 8 – Integrating VMware Cloud Foundation
In this post, today, we’ll talk about how to configure a VMware Cloud Foundation in our vRA 8 environemnt.
As a first step we need to create an SDDC integration:
- Log into your vRA env with your account (Cloud Assembly administrator as role)
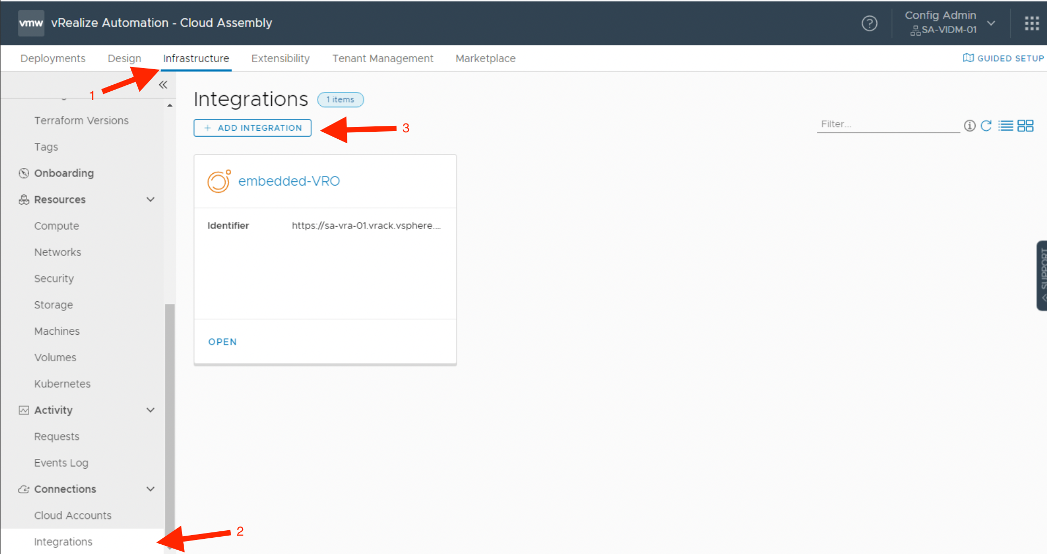
- Switch to “Infrastructure Tab”
- Click on “Integrations”
- Click on “+ Add Integration”
As integrations type select “SDDC Manager” and compile the following form using your information:

Click on “Validate”, accept the certificate if required and click on “Add” button.
At this point we’re ready to link VMware Cloud Foundation.
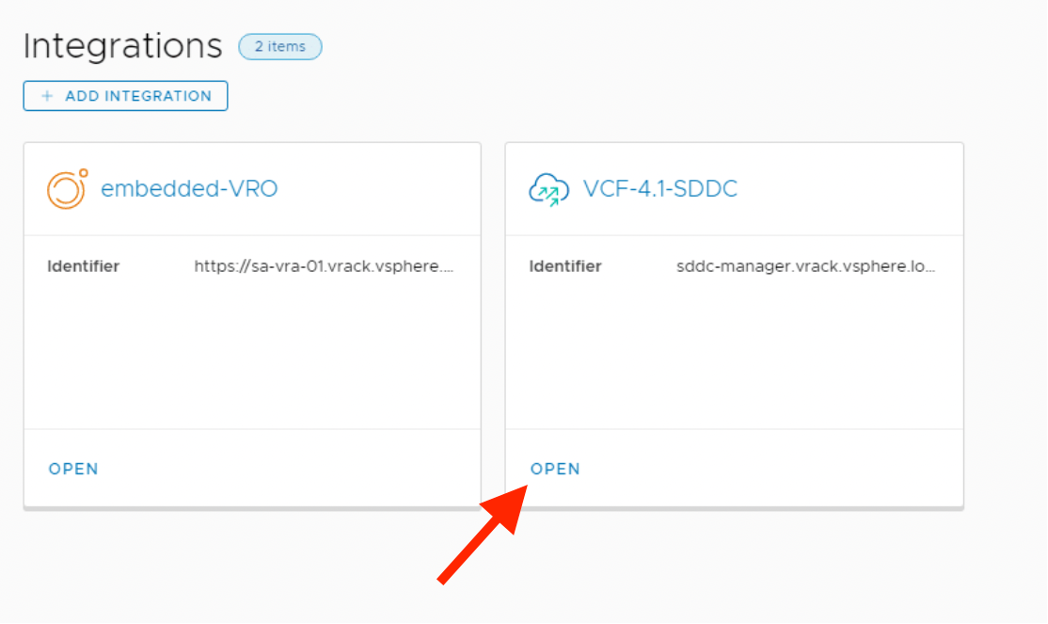
In integration page, open the integration created previously:
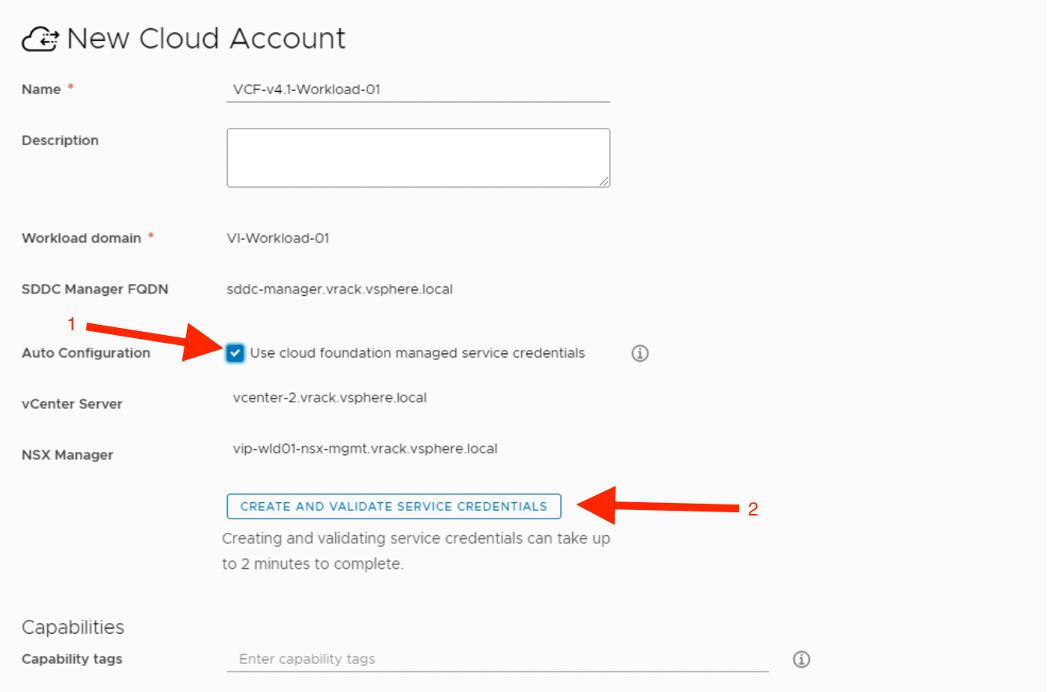
Switch to “Workload Domains” tab and select your WD (in my case is: VI-Workload-01), and then click to “Add account”.
- Check the option “use cloud foundation managed service credentials”
- Click on “Create and validate service credentials”
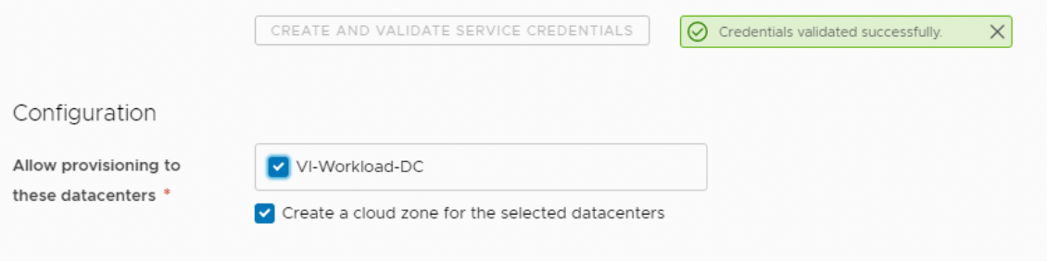
After that, the current page will show you all the datacenter that can your provision your workload:
In my case, I’ll select “VI-Workload-DC” and “Create a cloud zone for the selected datacenter”. The last option allow me to save time and create automatically a cloud zone that I will use to create my project and my future deployments.
The next step will be create a project that will use a cloud zone backed by VMware Cloud Foundation (VCF) account. Using the left menu, go to “Projects” page:
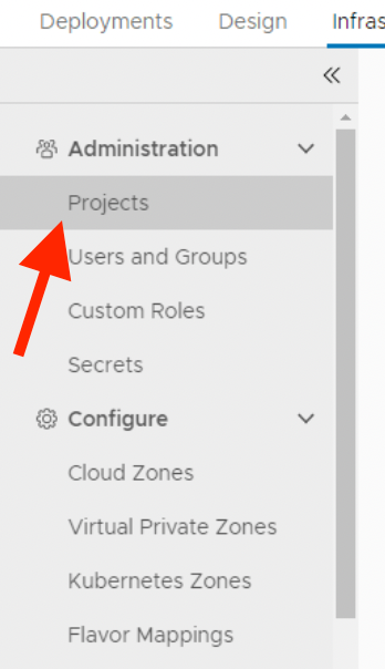
- Click to “+ New Project”
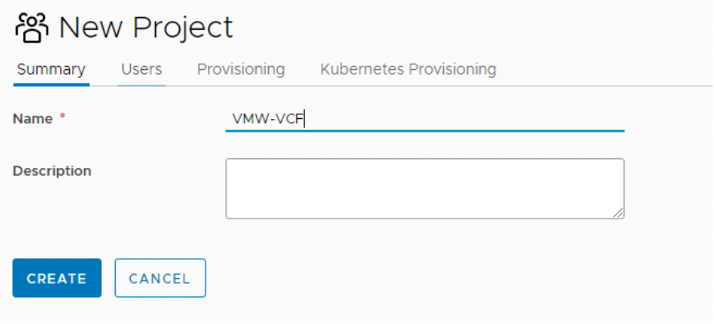
- Choose a name for your project (in my case will be “VMW-VCF”)
Switch to “Users” page and insert the users/groups that will work into this project and then go to “Provisioning” page where add to this project the cloud zone backed by our VCF account:


As you can see above, you can define some limitations about this cloud zone for this particular project. Click Add and click create.
Now our project is ready, and we can proceed to create a “Flavor mapping” and “Image Mapping” in order to create a cloud template.
Always using the left menu, go to “Flavor Mapping”:
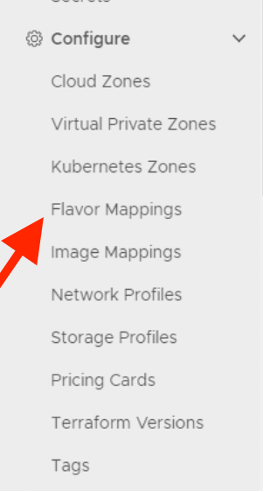
Click on “ + NEW FLAVOR MAPPING” and compile the form as follow:
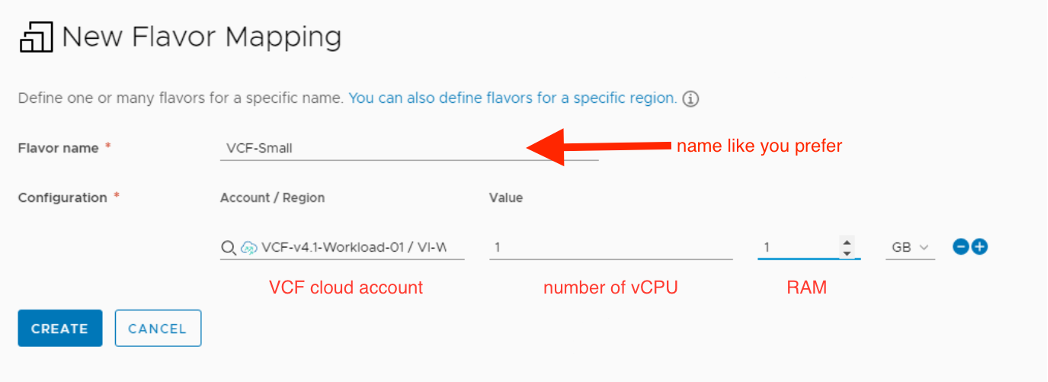
Click create to submit the operation. Once your flavor is ready, using the left menu, go to “Image Mapping” and click on “+ NEW IMAGE MAPPING”:
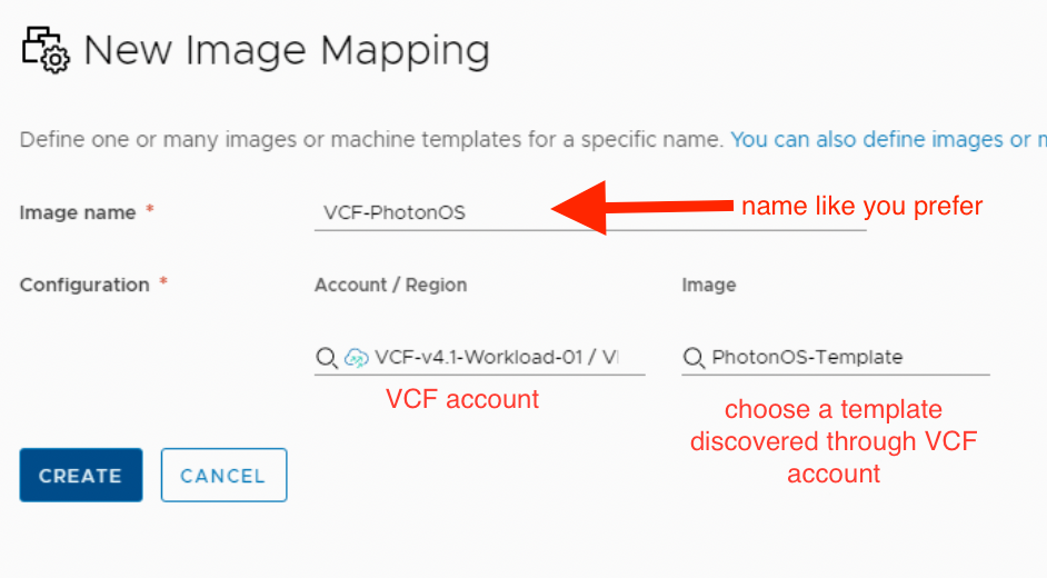
And then click “CREATE”. Now our configuration is ready! The next step will be create a simple cloud template:
- Go to “Design” tab (still remaining in cloud assembly)
- Click +NEW FROM
- Select Blank canvas
- Enter a name like you prefer
- Ensure you’re selecting the project created before (in my case: VMW-VCF)
- Click Create
- Create a simple cloud template as follow (in my case I will use cloud agnostic components):
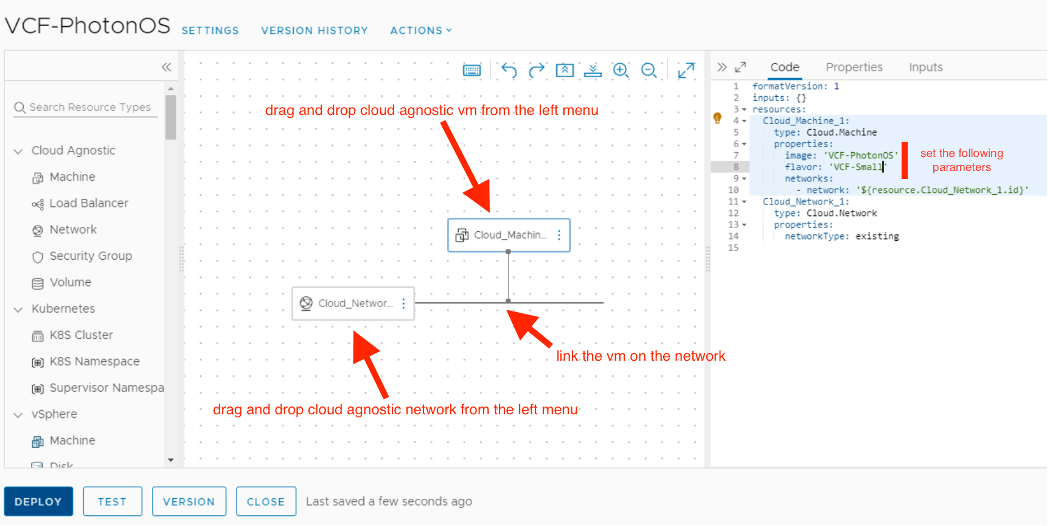
Click on the “TEST” button if you want to check your cloud template and then click to “DEPLOY”.
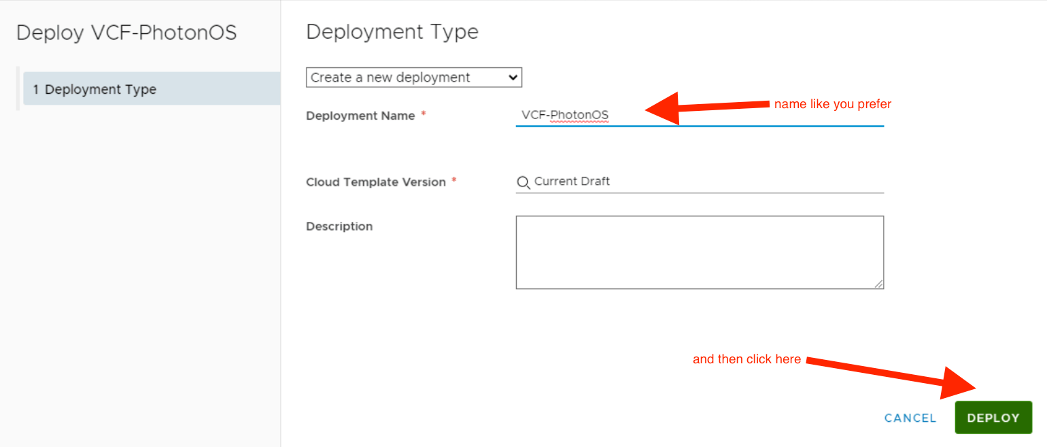
Well done! The deployment to VCF Workload domain is successful.